Waking up to a spotless home is a luxury many enjoy thanks to robot vacuum cleaners. However, few things are as frustrating as discovering your trusty cleaning companion is sitting idle, refusing to charge. This common issue can disrupt your cleaning routine and leave you wondering what went wrong. Fortunately, most robot vacuum charging problems have straightforward solutions that you can tackle yourself, often without needing professional help. This guide will walk you through the most common reasons why your robot vacuum isn’t charging and provide actionable steps to get it back to full power, ensuring your home remains effortlessly clean.
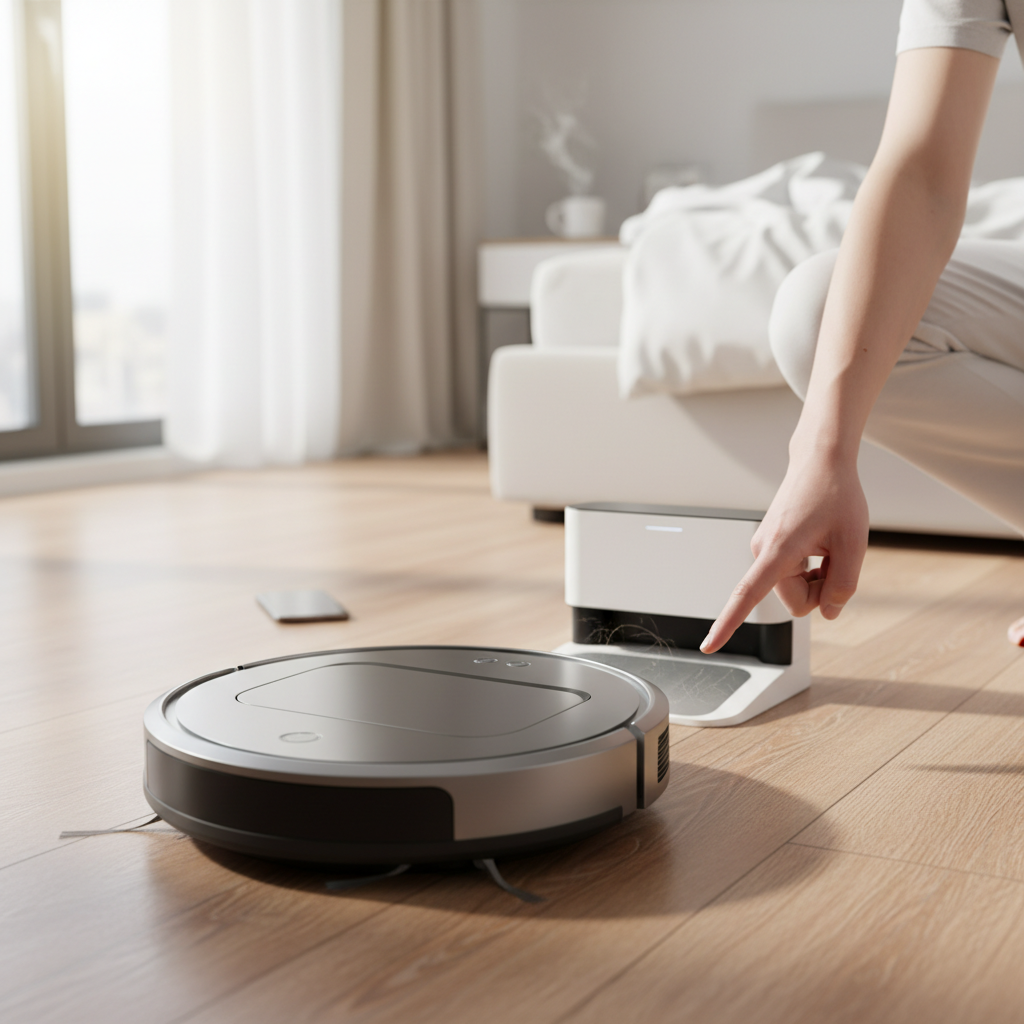
Understanding Why Your Robot Vacuum Isn’t Charging
Before diving into fixes, it helps to understand the basic components involved in your robot vacuum’s charging process. This system typically includes the power outlet, the charging dock (or base station), metal charging contacts on both the dock and the robot, and the robot’s internal battery and charging circuitry. A disruption at any point in this chain can prevent your device from powering up.
Common culprits for charging failures range from simple connection issues to more complex internal problems. These often include a faulty power supply, dirty charging contacts, improper docking alignment, an aging battery, or even software glitches. Environmental factors like extreme temperatures can also play a role. Pinpointing the exact cause is the first step toward a quick and effective resolution, saving you time and potential repair costs.
Step-by-Step Troubleshooting Guide for Robot Vacuum Charging Issues
If your robot vacuum isn’t charging, a systematic approach to troubleshooting can help you identify and resolve the problem efficiently. Start with the simplest checks and gradually move to more involved solutions.
1. Check the Power Source and Dock Connection
|
Our Picks for the Best Robot vacuum cleaner in 2026
As an Amazon Associate I earn from qualifying purchases.
|
||
| Num | Product | Action |
|---|---|---|
| 1 | Robot Vacuum and Mop, Mapping Robotic Vacuums Cleaner with LiDAR Navigation Smart & Strong Suction, WiFi/App/Alexa/Voice Control, Obstacle Avoidance, for Home, Wood/Hard Floors, Pet Hair -Gray |

|
| 2 | roborock Q7 M5+ Robot Vacuum and Mop, Upgraded from Q5 Max+, Up to 7-9 Weeks Self-Empty, 10000Pa Suction, Dual Anti-Tangle System for Pet Hair & Carpet, PreciSense LiDAR Navigation, App Control, Black |
|
| 3 | SHELIKI Robot Vacuum and Mop Combo, 3-in-1 Robotic Vacuums Cleaner with 70-Day Self-Emptying Base, LiDAR Navigation Smart Mapping & Strong 6000Pa Suction, for Pet Hair, Hard Floor, Carpet |
|
| 4 | Tikom Robot Vacuum and Mop Combo, 5000Pa Robotic Vacuum Cleaner, 150 Min Max, App & Remote Control, Ideal for Hard Floor, Carpet, Pet Hair, Self-Charge(G8000 Max) |
|
| 5 | Shark Matrix Clean | Robot Vacuum Cleaner with Powerful Suction for Pet Hair, Rugs, Carpets & Hard Floors | Self-Empty Base | 60-Day Capacity | Voice Control | LiDAR Navigation | Cool Grey | AV2511AE |
|
| 6 | eufy Robot Vacuum 11S MAX, Super Thin, Powerful Suction, Quiet, Self-Charging Robotic Vacuum Cleaner, Cleans Hard Floors to Medium-Pile Carpets, Black |
|
| 7 | ILIFE V2 Robot Vacuum Cleaner, Tangle-Free Suction, 120 Mins Runtime, Slim, Self-Charging Robotic Vacuum Cleaner, Ideal for Pet Hair and Hard Floors |
|
| 8 | roborock Qrevo Series Robot Vacuum and Mop, 8000Pa Suction, Upgraded from Qrevo S, Anti-Tangle Brushes, Smart Obstacle Avoidance, Auto Mop Washing, All-in-One Dock, 200RPM Spinning Mops, Black(QV 35A) |
|
| 9 | Robot Vacuum and Mop Combo, 2 in 1 Robot Vacuum Cleaner with WiFi/App, Smart Robotic Vacuums with Strong Suction, Schedule, Self-Charging, Slim, Quiet, Ideal for Hard Floor, Pet Hair, Low Pile Carpet |
|
| 10 | Tikom Robot Vacuum and Mop, 6000Pa Robotic Vacuum Cleaner with Self-Emptying Base, 90 Days Capacity, LiDAR Navigation, Home Mapping, Ideal for Pet Hair, Hard Floors, Carpet (L8000 Plus) |
|
The most basic step is to confirm that your charging dock is receiving power. Begin by verifying that the power outlet is functional. Plug another small appliance, like a phone charger or a lamp, into the same outlet to ensure it’s active. If the outlet works, inspect the power cord and adapter connected to your robot vacuum’s charging dock for any visible damage, such as frayed wires or bends. Ensure both ends of the power cord are securely plugged in – one into the wall and the other into the charging dock. Most docks feature an indicator light that illuminates when powered; confirm this light is on. Avoid using extension cords or surge protectors, as they can sometimes lead to inconsistent power delivery.
2. Clean the Charging Contacts
Dirty charging contacts are one of the most frequent reasons robot vacuums fail to charge. Over time, dust, dirt, and even grime can accumulate on the small metal pads on both the robot and its charging dock, creating a barrier that prevents a proper electrical connection. To clean them, first turn off your robot vacuum and unplug the charging dock from the wall. Using a clean, dry microfiber cloth or a cotton swab, gently wipe down the metal charging contacts on both the underside of your robot and the surface of its charging dock. For stubborn grime, a small amount of isopropyl alcohol on the cloth can be effective, but ensure the surfaces are completely dry before reconnecting power. A clean connection is crucial for consistent charging.
3. Ensure Proper Docking and Clear Obstructions
For your robot vacuum to charge, it must make secure and consistent contact with its charging dock. Sometimes, the robot may simply be misaligned or have its path blocked. Verify that the charging dock is placed on a flat, stable surface, ideally against a wall, and that there are no objects obstructing its path or preventing it from making full contact. Clear at least a meter of space in front and to the sides of the dock. Manually place your robot vacuum onto the dock, ensuring that the charging contacts on the robot align perfectly with those on the dock. You should typically hear a beep or see an indicator light on the robot confirming that charging has commenced.
4. Restart or Reset Your Robot Vacuum
Software glitches can sometimes interfere with your robot vacuum’s charging capabilities. A simple restart can often clear these temporary errors. Many robot vacuums can be soft reset by holding down the power button for a few seconds until it turns off, then turning it back on. For more persistent issues, a hard reset might be necessary. This often involves removing the battery for a few minutes or pressing a specific combination of buttons, as detailed in your robot’s user manual. A hard reset can recalibrate the battery sensors and charging logic, potentially resolving underlying software conflicts. Remember to consult your specific model’s manual for precise instructions.
5. Update Your Robot Vacuum’s Firmware
Manufacturers frequently release firmware updates to improve performance, fix bugs, and enhance battery management. An outdated firmware version could be causing a charging issue. Check your robot vacuum’s companion app for any available software updates. If an update is pending, follow the instructions to install it. Ensure your robot has enough battery to complete the update and remains on its charging dock throughout the process to prevent any interruptions that could lead to further complications. Keeping your device’s software current can resolve many unexpected issues and optimize its charging efficiency.
6. Assess Battery Health and Consider Replacement
Robot vacuum batteries, typically lithium-ion, have a finite lifespan, usually lasting between 18 to 24 months or a certain number of charge cycles. Over time, they degrade and may no longer hold a charge effectively. Signs of a failing battery include a significantly shorter runtime, the robot stopping mid-cycle, or the battery overheating during charging. In some cases, a visibly swollen battery is a clear indication it needs replacement.
“A robot vacuum battery’s average lifespan is around 18-24 months. If your device is older and suddenly struggling to charge, a new battery is often the most straightforward solution.” – Dr. Elena Petrova, Robotics Engineer
If you suspect battery degradation, consult your robot vacuum’s manual to see if the battery is user-replaceable. Always purchase an original equipment manufacturer (OEM) or certified compatible replacement battery to ensure safety and optimal performance.
7. Inspect the Charging Dock for Damage
Beyond power supply and contacts, the charging dock itself can be a point of failure. Carefully inspect the dock for any physical damage, such as frayed wires, bent or corroded charging springs, or discoloration that might indicate overheating. If the dock appears damaged, it may not be able to deliver power effectively. Some robot vacuums feature a direct charging port, allowing you to bypass the dock temporarily. If your robot charges successfully via this direct port but not on the dock, it strongly suggests the dock is faulty and needs replacement.
8. Address Environmental Factors (Temperature)
Lithium-ion batteries are sensitive to extreme temperatures. If your robot vacuum becomes unusually hot during or after a cleaning cycle, its internal safety mechanisms might prevent it from charging until it cools down. Likewise, attempting to charge a robot in a very cold environment can also hinder the process. Ensure your robot vacuum is operating and charging within its recommended temperature range, typically room temperature. If it feels hot to the touch, turn it off and let it rest for 30-60 minutes in a cooler area before attempting to charge it again.
When to Call for Professional Help
While many charging issues can be resolved with the troubleshooting steps above, there are times when professional assistance is warranted. If you’ve exhausted all self-help options and your robot vacuum still refuses to charge, or if you notice unusual noises, persistent error codes, or a burning smell, it’s best to contact the manufacturer’s customer support. They can provide brand-specific diagnostics, guide you through advanced troubleshooting, and advise on repair or replacement options, especially if your device is still under warranty.
Expert Tips to Prevent Future Charging Problems
Prevention is always better than cure when it comes to maintaining your robot vacuum’s charging reliability. Incorporating a few simple practices into your routine can significantly extend its lifespan and ensure consistent performance.
- Regular Cleaning: Make it a habit to regularly clean the charging contacts on both your robot and its dock. A quick wipe-down once a week can prevent dust and grime buildup.
- Optimal Dock Placement: Choose a charging dock location that is flat, unobstructed, and away from direct sunlight or heat sources. This ensures the robot can easily dock and maintains optimal battery temperature.
- Use Original Accessories: Always use the original power adapter and charging dock that came with your robot vacuum. Third-party accessories may not provide the correct voltage or current, potentially damaging the battery or charging system.
- Avoid Deep Discharges: Whenever possible, allow your robot vacuum to return to its dock before its battery completely drains. Deep discharges can shorten the overall lifespan of lithium-ion batteries.
- Stay Updated: Regularly check for and install firmware updates via your robot vacuum’s app. These updates often include critical bug fixes and battery management improvements.
Conclusion
A robot vacuum that isn’t charging can be an inconvenience, but with a structured approach to troubleshooting, you can often pinpoint and resolve the issue quickly. From cleaning dirty contacts and checking power connections to performing resets and replacing old batteries, most common problems have straightforward solutions. By following these practical steps and adopting preventive maintenance habits, you can keep your intelligent cleaning assistant fully charged and ready to tackle your home’s messes for years to come. What charging tip has saved your robot vacuum from an early retirement?
Frequently Asked Questions
How often should I clean my robot vacuum’s charging contacts?
It’s recommended to clean your robot vacuum’s charging contacts at least once a month, or more frequently if your home is particularly dusty or if you notice any charging inconsistencies. A simple wipe with a dry cloth is usually sufficient to maintain a good connection.
Can I use a universal charger for my robot vacuum?
It is strongly advised to only use the original charging dock and power adapter that came with your robot vacuum, or a certified replacement from the manufacturer. Universal chargers may not provide the precise voltage and amperage required, which can damage your robot’s battery or internal electronics over time.
How long do robot vacuum batteries last?
Most robot vacuum batteries, particularly lithium-ion models, are designed to last between 1.5 to 3 years or approximately 300-500 charge cycles under normal use. Factors like usage frequency, charging habits, and environmental conditions can influence their lifespan.
What does a blinking red light on my robot vacuum mean?
A blinking red light typically indicates an error or a problem with your robot vacuum. While the exact meaning varies by brand and model, it often signals low battery, a charging error, an obstruction, or an internal fault. Consult your robot’s manual or companion app for specific error code interpretations.
Why won’t my robot vacuum go back to its dock?
If your robot vacuum struggles to return to its dock, it could be due to several reasons, including a low battery preventing it from reaching the dock, physical obstructions blocking its path, a misaligned or damaged charging dock, or issues with its navigation sensors. Ensure the dock is properly placed and clear of obstacles, and try cleaning the robot’s sensors.